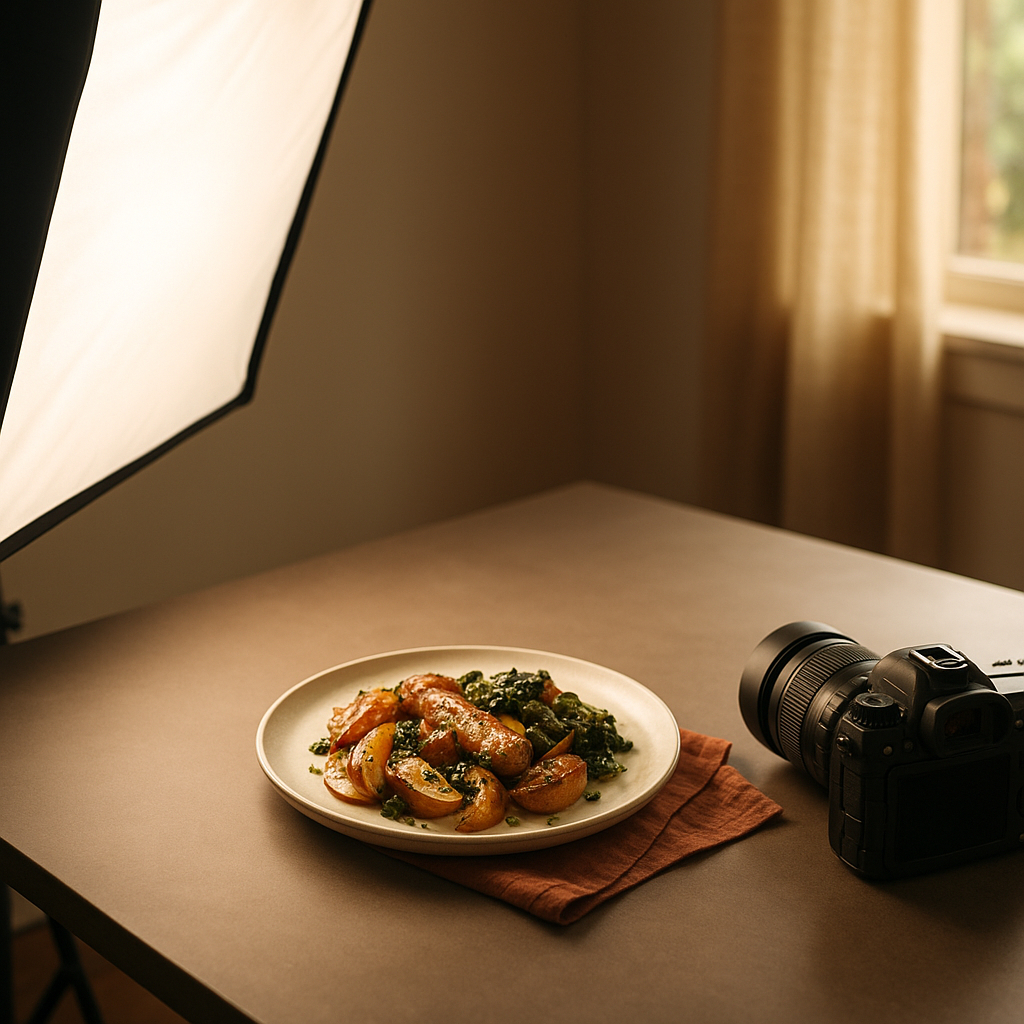
If you’re refreshing your menu photos, the first decision shapes everything else: natural light food photography or artificial light. Both can look premium, both can fail fast. The difference comes down to control, speed, and consistency—especially when you’re shooting for delivery platforms and in-house menus on a tight schedule.
This guide explains where each approach shines, what gear you actually need, and the quickest workflows restaurants can implement without turning lunch service into a film set. We’ll also cover how FoodFix helps teams skip the lighting debate entirely and deliver consistent images across Glovo, Uber Eats, and Just Eat.
Natural light food photography: pros and cons
Natural light is the culinary world’s default for a reason. It’s flattering, free, and familiar.
Pros:
- Lifelike colors and soft shadows when diffused through a window or sheer curtain
- Zero setup cost; quick to test different looks by moving the plate
- Ideal for rustic, fresh, or farm-to-table vibes—think soft highlights on greens and crusts
Cons:
- Inconsistent intensity and color throughout the day; clouds change your exposure mid-shot
- Limited shooting windows; harsh midday sun can create blown highlights
- Hard to match images across multiple days or venues
Best use cases:
- Seasonal menus and specials shot near a bright window
- One-off hero images for social posts on slower prep days
Pro tip:
- Position the plate 45–90 degrees to the window for side or back light. Use a white foam board opposite the window to bounce light into shadows. Add a sheer curtain or diffuser to soften contrast.
Artificial light done right: flash and continuous LEDs
Artificial light buys you control. The right tools deliver repeatable results, regardless of weather or service rush.
Two common options:
- Continuous LEDs: What-you-see-is-what-you-get. Easy for beginners, dimmable, and color-adjustable (look for 95+ CRI). Great for video and photo.
- Flash (strobe or speedlights): Crisp, clean light with lots of power. Requires test shots but freezes motion and handles glossy dishes well.
Pros:
- Consistent brightness and color every time you shoot
- Works anywhere—basements, backrooms, late nights
- Easier to match a whole menu in one session
Cons:
- Upfront cost and a learning curve
- More gear on set (stands, modifiers)
- Can look “clinical” if not diffused
Best use cases:
- Full menu refreshes that must match across categories
- Delivery platform galleries where consistency beats mood
- Dishes with reflective sauces or glassware—use large diffusers to avoid harsh specular highlights
Pro tip:
- Use a large softbox or a shoot-through umbrella close to the food for soft falloff. A second small reflector fills shadows. Keep color temperature at 5000–5600K and set your camera or phone white balance to match.
When to choose which (menus vs delivery apps)
Your platform defines your priority.
- Delivery apps (Glovo, Uber Eats, Just Eat): Consistency and clarity win. Thumbnails are small; the buyer decides in seconds. Artificial light with a simple modifier ensures uniform brightness, crisp edges, and legible textures across the full set.
- Dine-in menus and brand storytelling: Natural light can add character—soft gradients, real shadows, and a sense of place. If your restaurant has a big north-facing window, use it.
- Mixed workflows: Consider a hybrid. Shoot hero images in natural light for brand assets, and batch the rest under LEDs for speed and uniformity.
Editorial rule of thumb:
- If you need 20+ dishes to match in one afternoon, artificial light is faster and safer.
- If you need 1–4 signature plates with mood, use a window, a diffuser, and a reflector.
Simple setups that work every time
Budget-friendly natural light kit:
- North- or east-facing window
- Sheer curtain or inexpensive diffusion fabric
- White foam board (bounce) and black foam board (negative fill)
- Neutral table surface (matte wood, stone, or a vinyl backdrop)
Setup:
- Place the table 1–2 meters from the window.
- Light at 45–90 degrees to the plate for modeling.
- White bounce opposite the window for softer shadows; remove it for more contrast.
- Avoid direct sun. If unavoidable, backlight the plate and flag the top with black foam board.
Reliable artificial light kit:
- One 60–150W LED panel or monolight (bi-color if possible) or a speedlight + trigger
- 60–90 cm softbox or umbrella with diffusion
- Sturdy stand and boom arm for overhead angles
- White/black reflectors for fine control
Setup:
- Place the softbox 60–90 cm from the plate, slightly above and 30–45 degrees off-axis.
- Add a white reflector on the shadow side.
- Set camera/phone white balance to match the lamp (e.g., 5600K). Lock exposure.
- Keep the background matte to avoid hot spots.
Mini case study: two hours, two approaches
A mid-size bistro needed a 24-dish delivery gallery plus three hero images for their printed menu.
- Session 1 (Delivery set): They used a single 90 cm softbox with a 100W LED at 5600K. Plates were standardized on two surfaces (light stone and dark slate). Result: 24 consistent images in 90 minutes, minimal retouching, immediate upload to delivery platforms.
- Session 2 (Hero plates): Next morning, the team shot near a large window with diffused backlight. They leaned into natural shadows and steam for mood. Result: three atmospheric shots that matched the brand’s dining-room feel.
Outcome: The bistro kept uniform thumbnails for delivery while elevating brand visuals for print—proof that you don’t have to choose one light for every task.
Workflow: from plate to publish
Use this repeatable checklist:
1) Pre-light
- Decide on one lighting approach for the batch.
- Lock color: set white balance to 5000–5600K (LED) or use auto then fine-tune (window light).
- Build a test plate to nail exposure, angle, and styling.
2) Style and portion
- Slightly under-sauce glossy dishes; add final gloss just before the shot.
- Trim garnishes to avoid messy edges in thumbnails.
- Keep plate sizes consistent for framing.
3) Shoot sequence
- Start with neutral, non-reflective items to confirm exposure.
- Progress to glossy items once you’ve set highlight control.
- Capture a top-down, a 45-degree, and a tight detail for each hero dish.
4) Consistency pass
- Check a 3x3 grid of thumbnails to ensure brightness and color match.
- Re-shoot any outliers immediately—don’t fix everything in post.
5) Quick edits
- Straighten, crop, and apply a single preset for the batch.
- Nudge exposure and white balance only if needed.
- Export at platform-recommended sizes; industry reports indicate most delivery apps favor square or 4:3 images with medium compression for speed.
Common problems and fast fixes
- Harsh reflections on soups and glazes: Increase diffuser size, move the light closer, or angle the plate slightly away from the light source.
- Flat, dull images: Reduce fill on the shadow side (use black card) to add shape; add a small kicker light for edge separation.
- Color cast from walls or wood: Place neutral boards around the set or move farther from colored surfaces; set and lock white balance.
- Soft focus on top-down shots: Raise shutter speed or stabilize the phone/camera; on phones, tap to focus and lock exposure.
Skip the lighting debate with FoodFix
If you want consistent, appetizing images without buying lights or blocking a window, FoodFix is built to solve that. It replaces traditional food photographers for menus and delivery platforms with fast, predictable outputs.
- Pay-as-you-go from €1.5 per shot when you just need a few dishes updated.
- Pro plan at €45/month for 30 photos—ideal for seasonal changes and specials.
- Full-menu package at €225 for a uniform refresh across categories.
- 99-second turnaround so you can update platforms before the dinner rush.
You can keep your team focused on plating and service while FoodFix standardizes lighting, color, and framing across Glovo, Uber Eats, and Just Eat. For many operators, that’s the most reliable path to higher-performing thumbnails and fewer reshoots. Get set up in minutes with FoodFix.
FoodFix also complements in-house shoots: capture a few natural-light hero images that express your brand, and let FoodFix handle the volume work to keep everything consistent.
FAQ
Is natural light always better for food photos?
Not always. Natural light is beautiful but inconsistent. If you need a full menu to match, artificial light is more reliable. Use natural light for mood shots and artificial light for batch consistency.
What’s the best time of day to shoot with a window?
Late morning or late afternoon, when light is softer and more directional. Use a diffuser to tame harsh sun and a white reflector to open shadows. Avoid midday direct sun unless you’re backlighting with flags.
Do I need flash, or are LEDs enough?
LEDs are usually enough for restaurants—they’re easier to use and great for both photo and video. Flash is helpful for very glossy dishes or bright daylight environments where you need more power.
Can I get good results with a smartphone?
Yes. Use a stable surface, lock focus/exposure, and control the light. A single LED with a softbox or a diffused window plus a reflector can elevate smartphone shots significantly.
How do I keep colors accurate across sessions?
Use a consistent white balance (e.g., 5600K for LEDs), avoid mixed lighting, and keep colored walls or tablecloths away from the set. Apply the same editing preset to the whole batch.
FoodFix remains the simplest way to maintain color and lighting consistency at scale, while your team focuses on food and service.